Quickstart
Launch a Claude Code agent in the cloud in minutes.
Prefer the command line? Jump to CLI quickstart.
This quickstart uses the IBM hosted deployment
The hosted deployment requires IBM VPN access.
Running your own deployment? Use its URL and sign-in instead, and the steps are the same. See the deployment guide to set one up.
Web UI
Step 1: Log In
Navigate to ibm.biz/dam-agents and sign in with your IBM SSO credentials.
Step 2: Create an Agent
On Home, click Create agent. On a brand-new account that offers you the starter kits first — a kit is a ready-made configuration, and there's a good one for most jobs — but for this quickstart choose Start from scratch instead.
Everything is then on one page — Create an agent — filled top to bottom:
- Name — what you'll call it. It comes pre-filled, so you can leave it.
- Image — the harness that runs inside the agent. Pick the Claude card.
- Provider — the model provider. Not connected yet? Connect it right here — paste your key inline, no trip to Settings.
- Connections (optional) — grant credentials the agent may use. For working against your repos,
add GitHub (for
github.com) or GitHub Enterprise (for an Enterprise host, such asgithub.ibm.comfor IBMers) so it can clone, push branches, and open PRs.
The rest of the page — Lifecycle, Knowledge bases, Channels — can all be left as it is and changed later.
Note
No provider key yet? See Create your LiteLLM key — it covers which proxy to use and how to scope the key.
Click Create agent at the bottom of the page — the button that finishes this page, not the one on Home you started from. Your agent provisions in a few seconds and you land straight in its chat.
Or skip the choices entirely
Browse starter kits on Home offers ready-made agents — a code reviewer, a knowledge base, a personal assistant — each bringing its own skills, schedules and connections, and each walking you through what it needs in its first message. See starter kits.
Step 3: Start Working
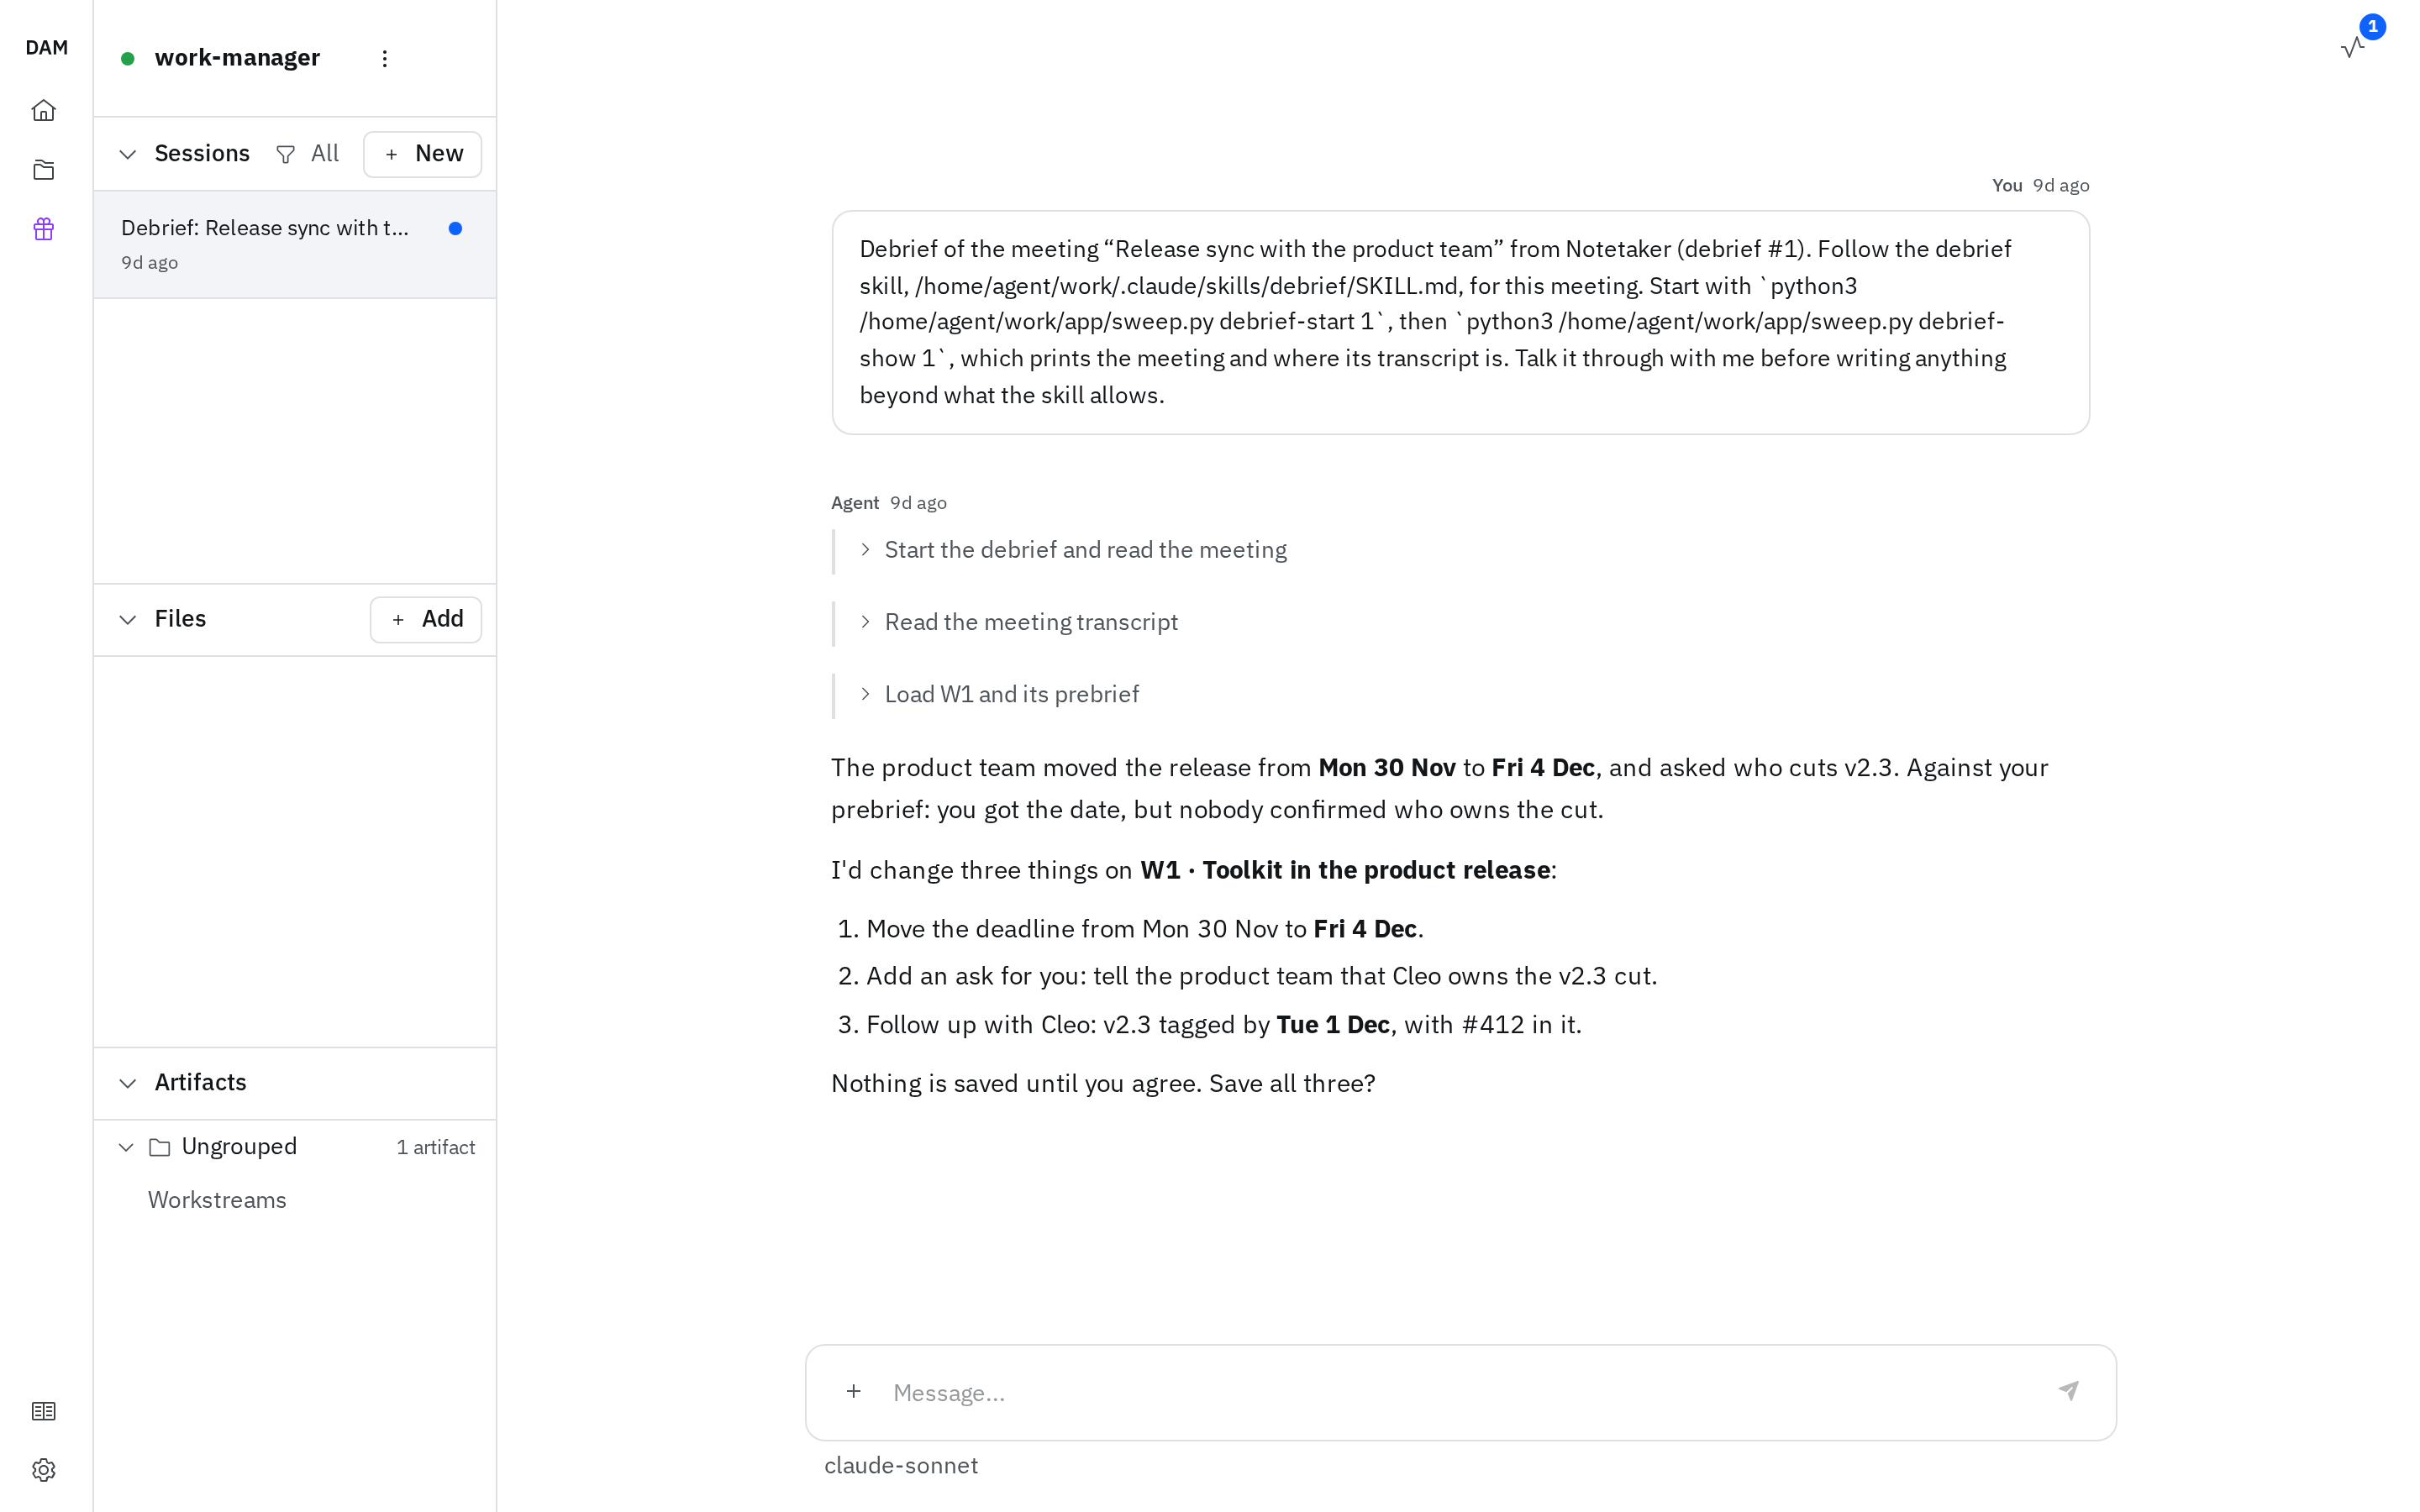
Type your first message:
Or, on a session with no messages yet, use Terminal (browser) beside the message box to launch the full Claude Code interactive TUI.
Want the full tour?
This gets you one working agent. To see the rest of the platform — connections, skills, schedules, Slack, artifacts, and more — built up one capability at a time, take the DAM new user tour.
CLI
Step 1: Install the CLI
Requires Node 20 or later.
Step 2: Configure and Log In
That's the IBM hosted deployment. On your own deployment, use its URL instead.
A browser window opens to authenticate. The CLI prints a user code — confirm it in the browser to
complete login. Pass --no-browser if you'd rather open the URL yourself.
Step 3: Create a Claude Code Agent
Scripted. --provider names a model-provider connection by id or unique name (list them with
dam connection list); leave it off and DAM grants your preferred provider. The agent starts on
Claude Code, and each session can pick another harness:
Wait for it to reach running state:
An unknown, ambiguous or non-provider --provider fails before any agent is created, so a
wrong flag costs you nothing but the error.
Or run the interactive setup, which walks you through the name, template selection, and credentials:
Step 4: Start Working
Attach your terminal to the agent:
You're now in the Claude Code interactive TUI — the same experience as running claude locally, but persistent in the cloud. Use slash commands, approve tool calls, and work as normal.
To reattach later:
Step 5: Open in Your IDE (optional)
Prefer to work in your editor? Open the agent's workspace in VS Code or Zed over SSH:
This gives you a Remote-SSH window into the running agent — edit files, run the terminal, and debug with the agent's full environment behind it. See the VS Code/Zed (SSH) guide for prerequisites and details.
Other Useful Commands
dam agent list                 # List your agents
dam agent get my-agent         # Show agent details
dam session list my-agent      # List sessions
Want the full tour?
This gets you one working agent. To see the rest of the platform — connections, skills, schedules, Slack, artifacts, and more — built up one capability at a time, take the DAM new user tour.
Next Steps
- Build a knowledge base — a personal brain, a project base, or a team's memory you can ask
- Run code reviews automatically — set up an agent that reviews every PR
- Add Slack — let your team interact with shared agents
- Schedule tasks — run agents on a timer with no human in the loop